...
...
Leningrad Oblast
Region
Leningrad Oblast
Area
80 m²
Duration
5 day's
Cost
5 000 rub/m²
Hydronic underfloor heating is a heating system in which a heat carrier (water) circulates through pipes embedded in the floor screed. Unlike radiators, heat is distributed evenly across the entire floor area from the bottom up, creating the most comfortable indoor microclimate.
1. Subfloor Preparation
The rough floor base is cleaned of debris and dust and checked for significant level differences. If necessary, leveling is carried out.
The surface must be even and solid — this directly affects the durability of the entire system.
2. Installation of Waterproofing and Thermal Insulation
A foil-backed membrane is laid over the base, performing two functions: protecting against moisture from below and reflecting heat upward into the room. Without insulation, a significant amount of heat would be lost to the ground or floor structure.
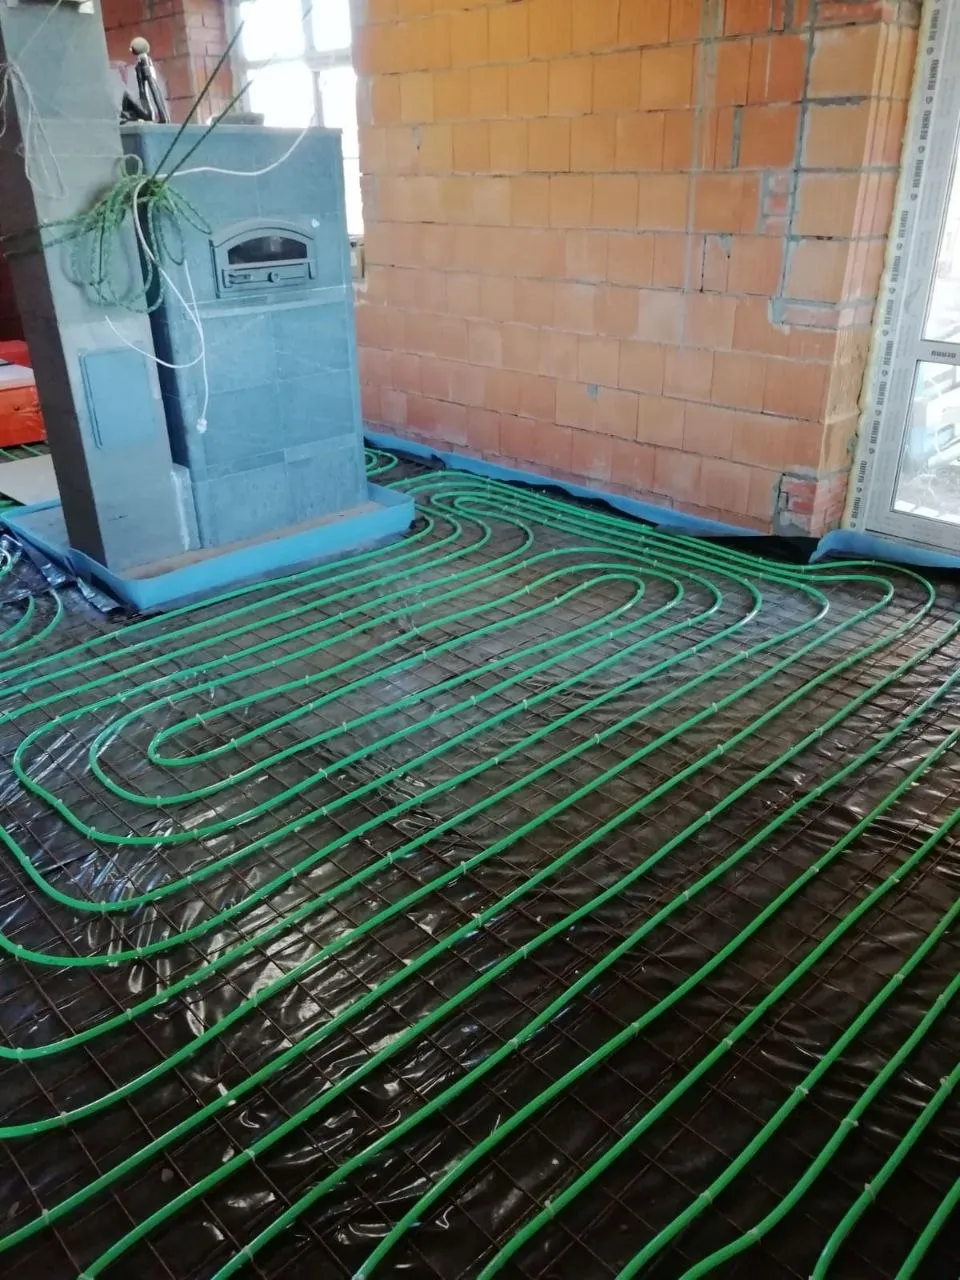
3. Installation of Reinforcement Mesh
A metal mesh is laid over the insulation. It serves as a base for fastening the pipes and simultaneously reinforces the future cement-sand screed, preventing cracks.
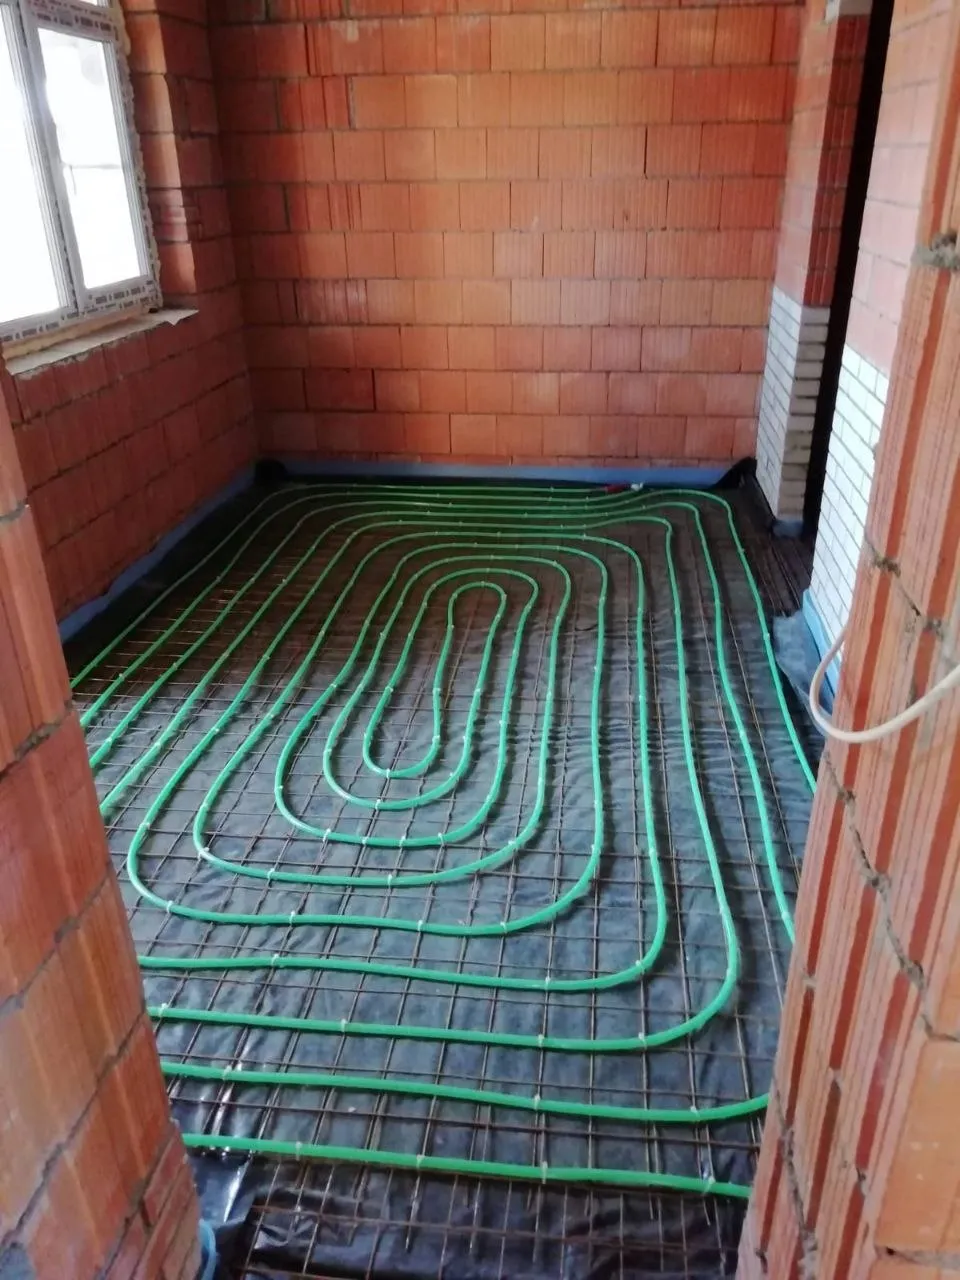
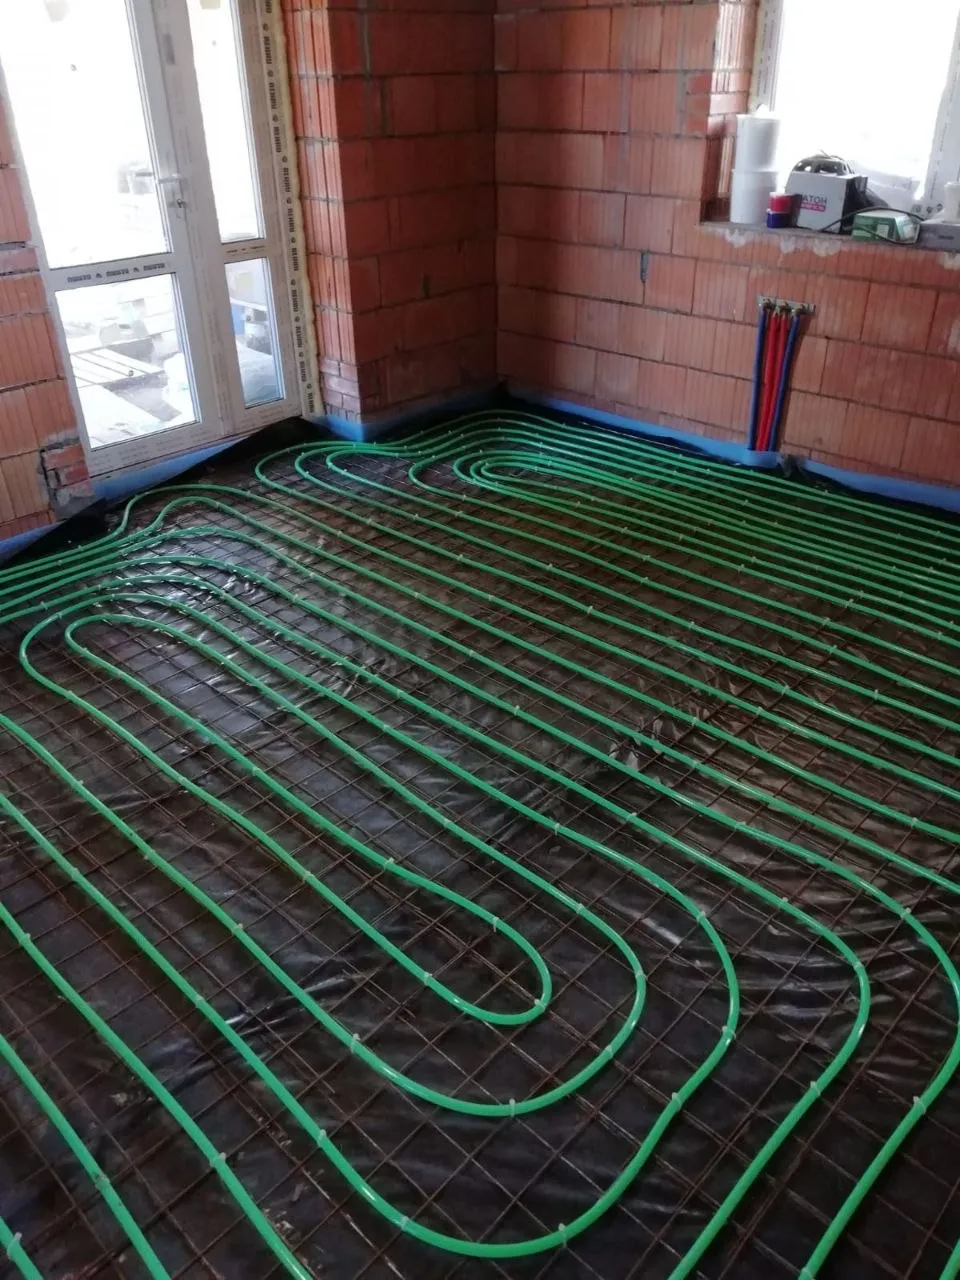
4. Pipe Installation
Cross-linked polyethylene (PEX) pipes are installed according to a pre-calculated layout with a spacing of 15–20 cm. Depending on the shape and size of the room, two main layouts are used:
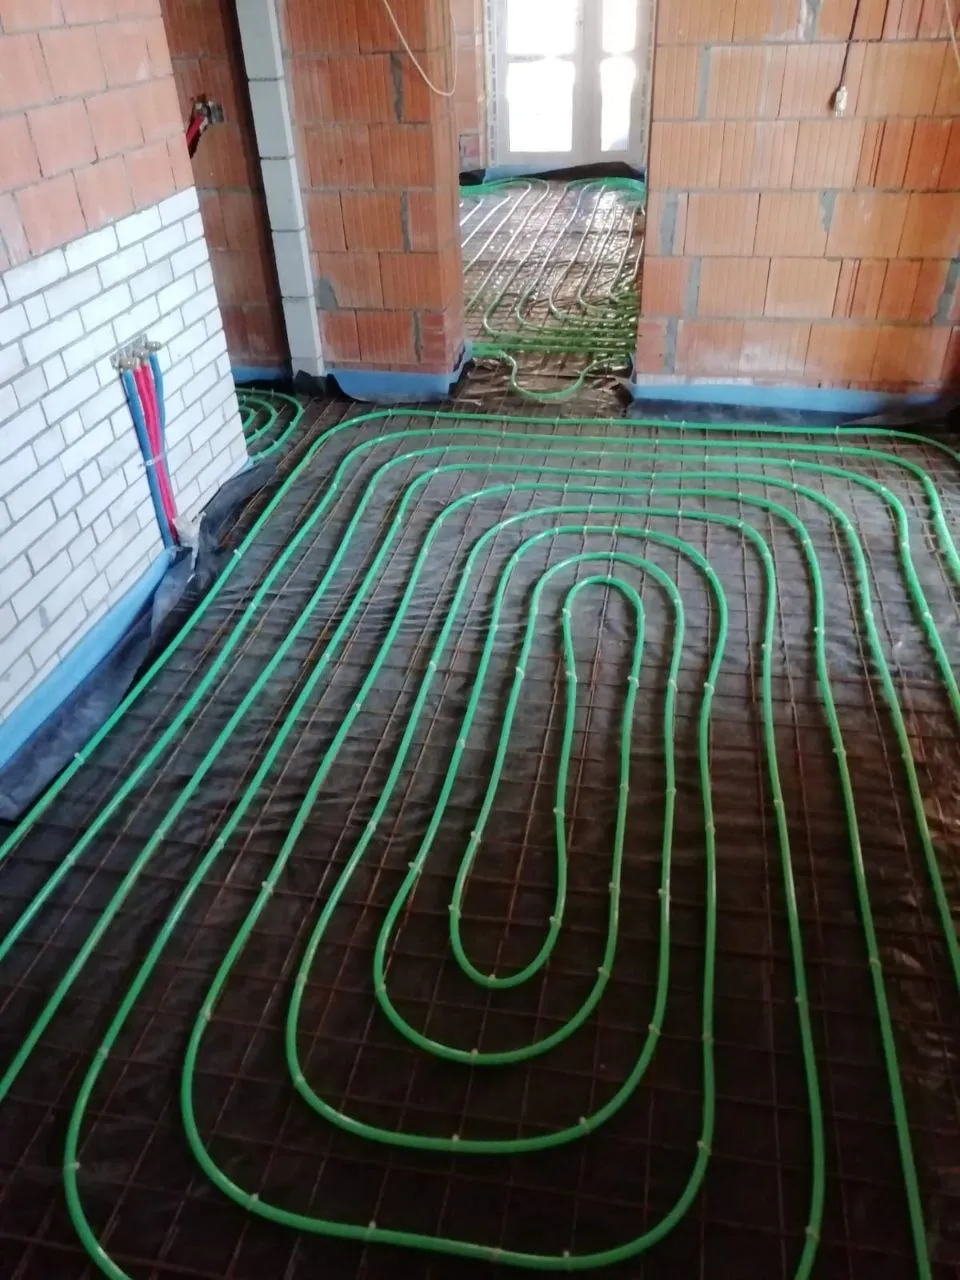
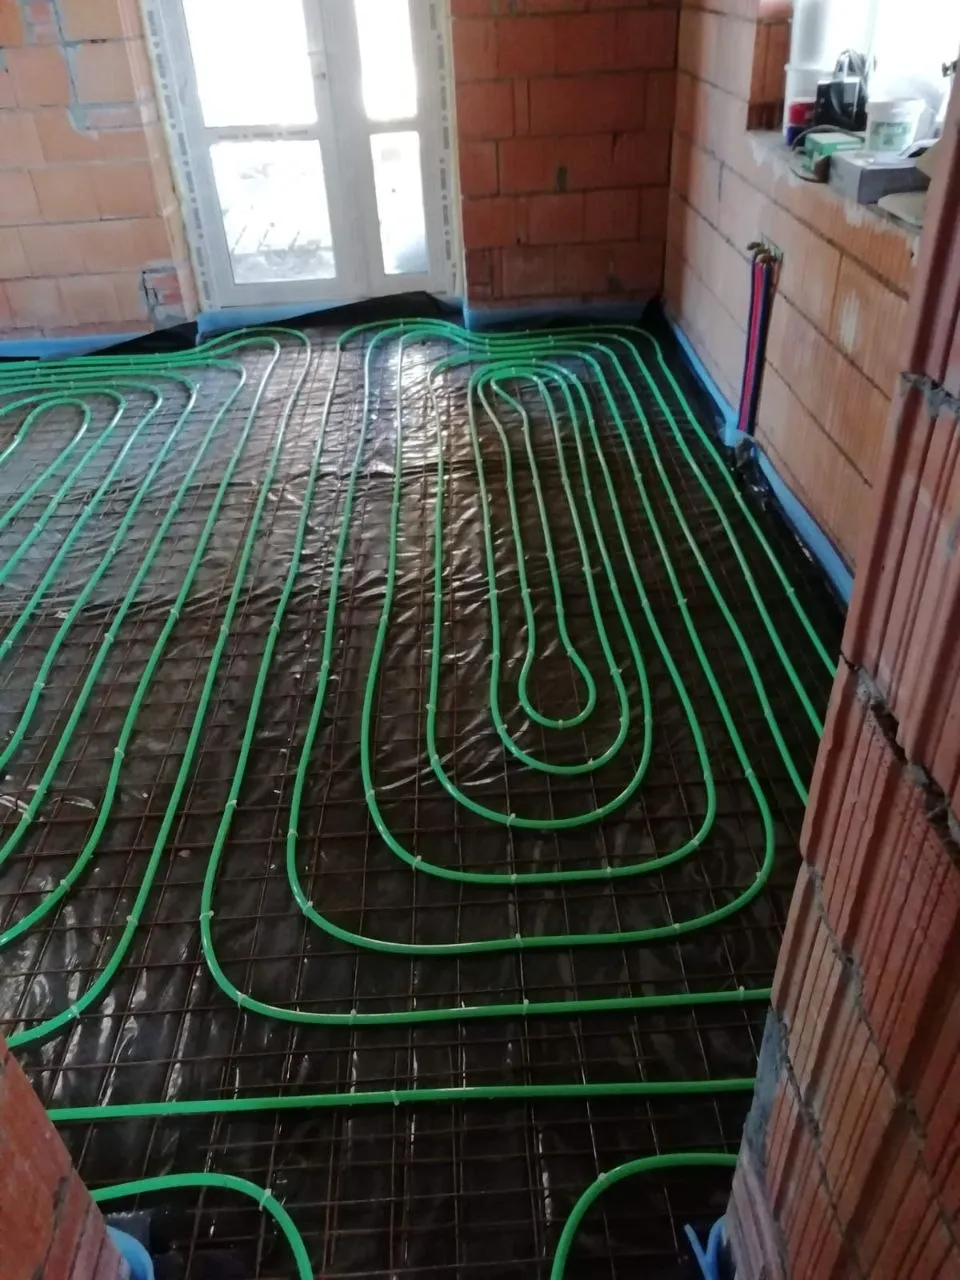
“Spiral” (Snail pattern) — supply and return pipes run parallel in a spiral from the walls to the center. This provides the most even heat distribution and is ideal for large rooms.
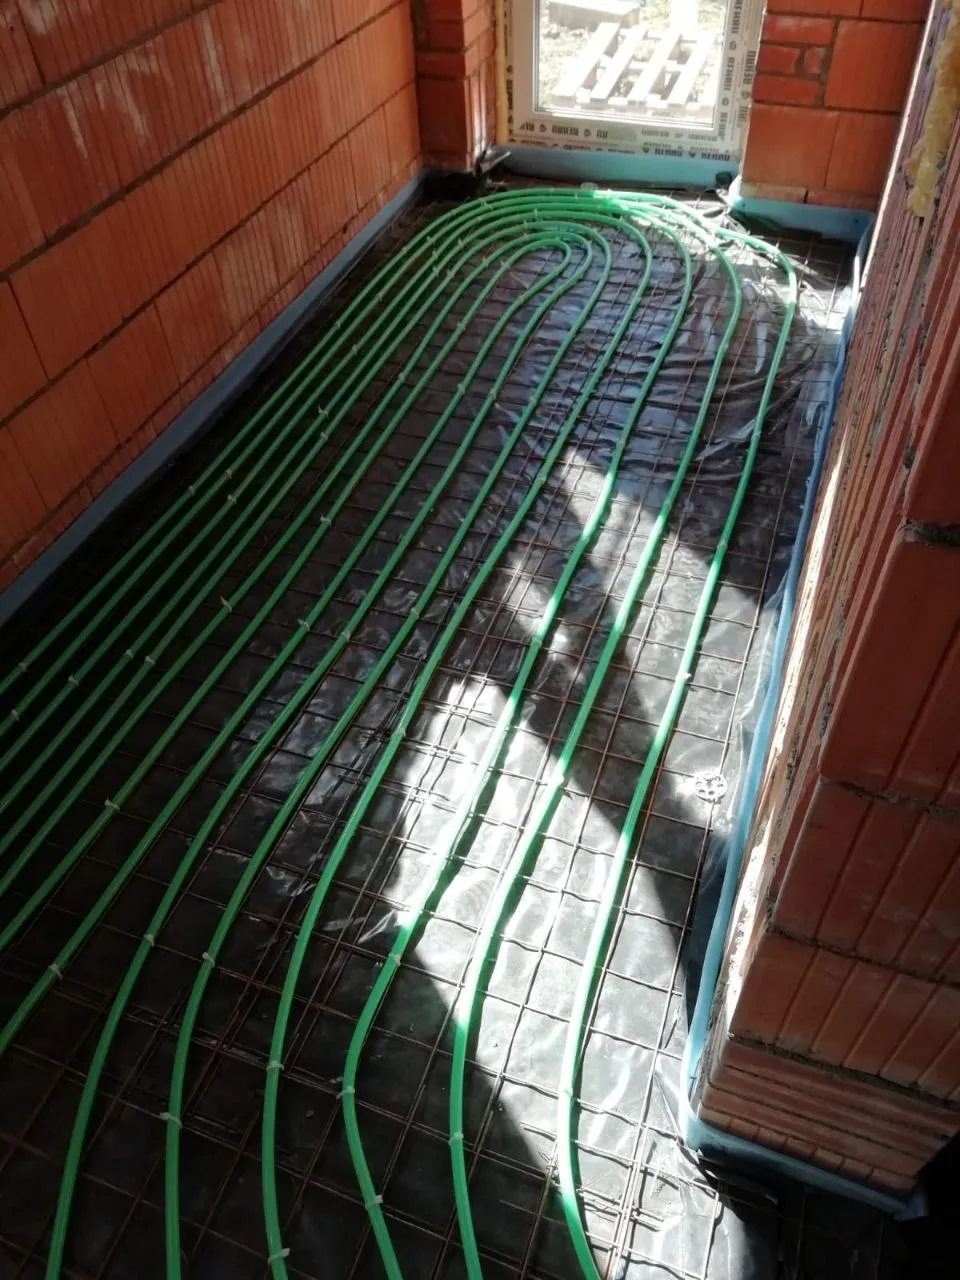
“Serpentine” (Snake pattern) — the pipe runs in parallel rows from one wall to another. Used in narrow spaces such as corridors, bathrooms, and entryways.
Each room is a separate closed loop with its own supply and return lines, allowing independent temperature control in each space.
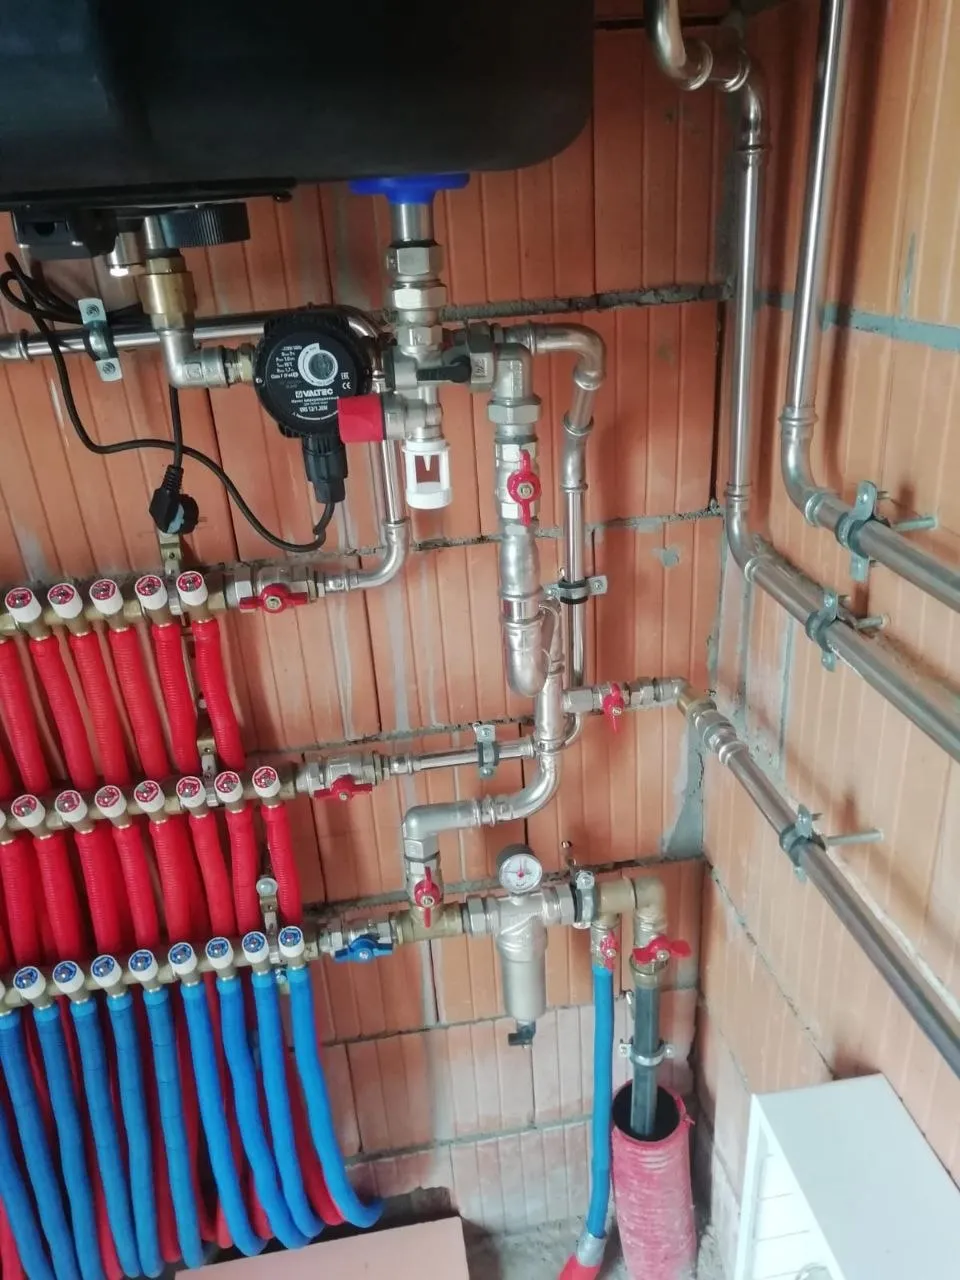
5. Manifold Assembly
All loops are connected to a manifold — a distribution unit that directs hot water to each room and returns cooled water back to the boiler. Each loop is equipped with an individual flow regulator, allowing precise temperature adjustment in different zones of the house.
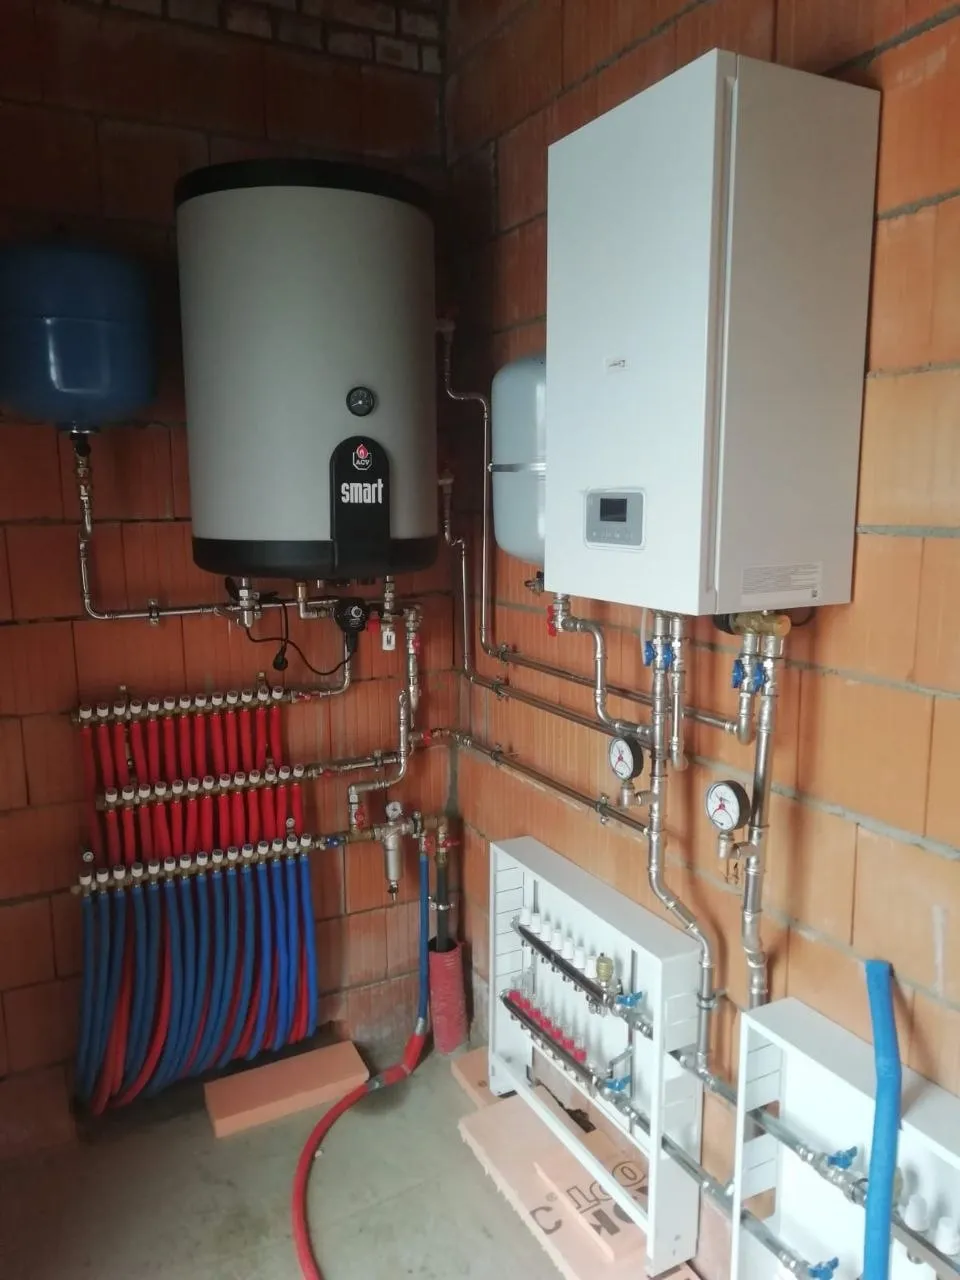
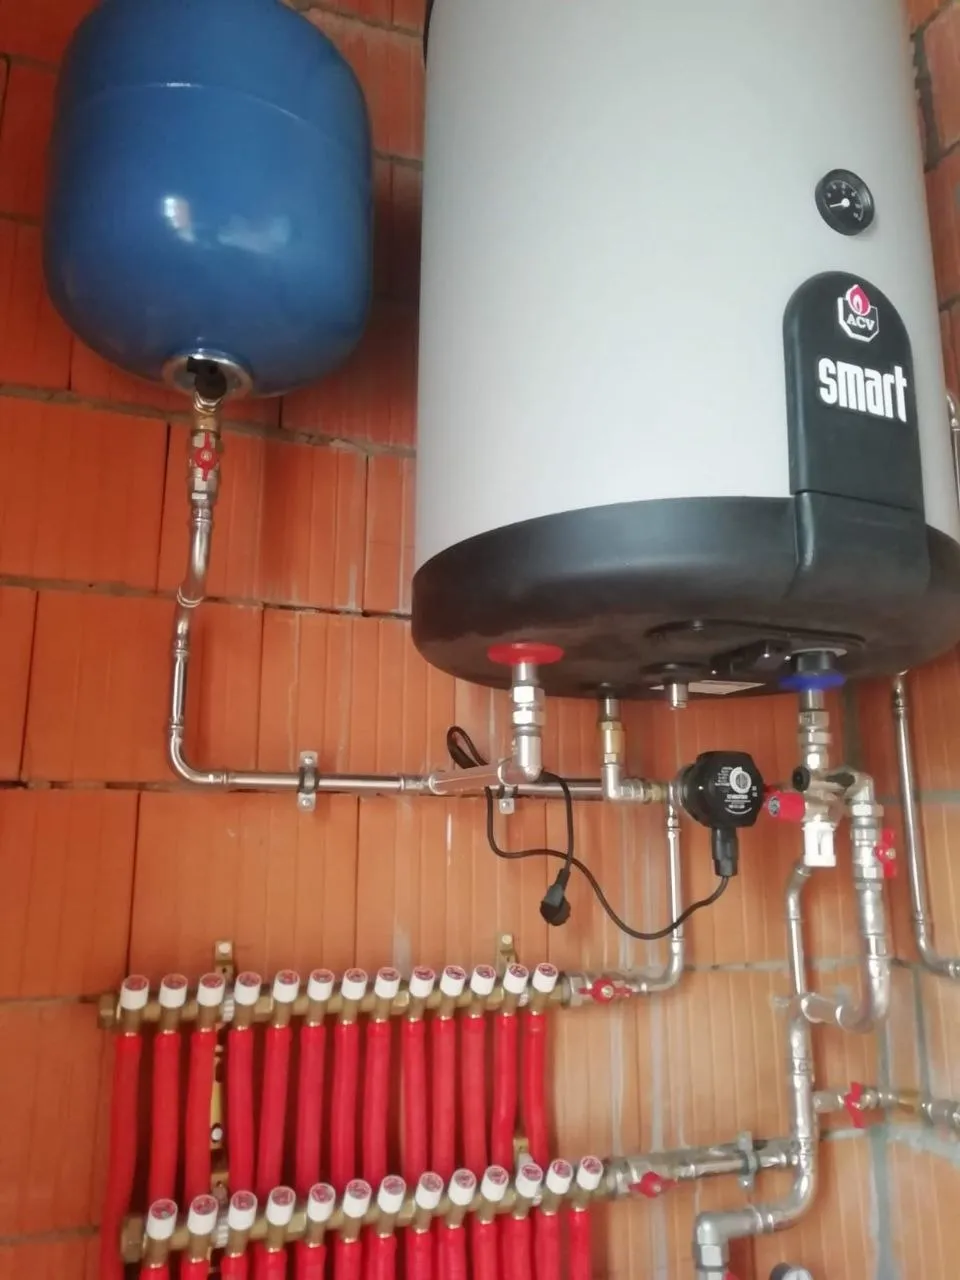
6. Boiler Room Piping (System Integration)
The manifold is connected to the boiler through a piping system that includes:
Circulation pump — ensures movement of the heat carrier through the loops
Thermostatic mixing valve — mixes cooled water with hot water to maintain a safe floor temperature of 30–45 °C
Expansion tank — compensates for water volume increase during heating and protects against pressure fluctuations
Shut-off valves and pressure gauges — for control, pressure monitoring, and maintenance without shutting down the entire system
7. Pressure Testing
Before pouring the screed, the system is filled with water and brought to operating pressure. All connections, loops, and components are checked for leaks.
This is a critical stage — after the screed is poured, access to the pipes will no longer be possible.
8. Screed Pouring
After successful pressure testing, the pipes are covered with a cement-sand screed 50–70 mm thick. The screed gains full strength in about 28 days, after which the system is ready for operation and final floor covering installation.
Even heat distribution — no cold spots or drafts
Energy efficiency — operating temperature of 30–45 °C, significantly lower than radiators, reducing energy consumption
Comfort — warm floor at foot level and cooler air at head level — optimal for health
Hidden system — all components are embedded in the floor, saving wall space and preserving interior design
Zoned control — ability to set individual temperatures for each room
Get in touch — we'll discuss your project, find the best solution and calculate the cost
Leave a request — we'll contact you, clarify details and offer the best solution for your plot and budget.
Response within 30 minutes
+7921-76-76-76-1
info.stroyinvest24@gmail.com
We'll call back and consult for free